Perfect Canelé

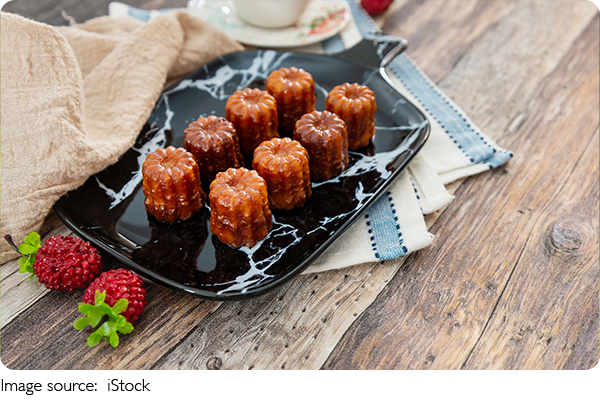
We had never tried a French pastry called canelé until a couple of months ago, and we realized we were really missing out. These little treats are unlike anything else we've ever had.
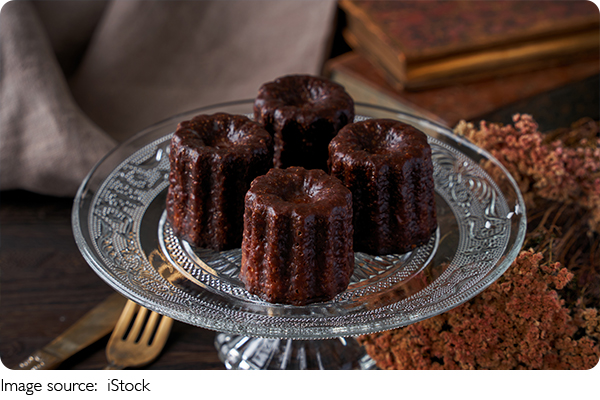
They have a rich, moist, custardy inside, wrapped in a thin, crispy, caramelized shell. When you bite into them, you hear a satisfying crack, and then you enjoy the soft, sweet, custardy filling. They are just as beautiful to look at as they are tasty to eat.
Ingredients
- 2 vanilla beans (preferably from Madagascar)
- 500 ml cold milk
- 200g cane sugar (use 250 g for a sweeter taste)
- 100g all-purpose flour
- 50g melted butter
- 2 large eggs
- 2 egg yolks
For the mold coating
-40g beeswax
-60g butter
Instructions
1. Prepare the Vanilla: Split the vanilla beans lengthwise and scrape out the seeds. Combine the seeds, vanilla pods, and milk in a saucepan. Bring to a gentle simmer, then turn off the heat and let sit for 2 minutes.
2. Mix the Eggs and Sugar: In a separate bowl, whisk together the sugar, eggs, and egg yolks. Add the melted butter and whisk until combined.
3. Combine Ingredients: Remove the vanilla pods from the milk. Add 1/4 of the hot milk to the egg mixture and mix well. Then add the flour and mix until combined. Slowly add the remaining milk while stirring until everything is smooth. This step helps avoid lumps and ensures the right batter consistency.
4. Chill the Batter: Refrigerate the batter for 24 to 48 hours. This resting time is crucial for improving texture and flavor. You can keep the batter in the fridge for up to 4 days. When using it, stir well and whisk for at least 2 minutes.
5. Prepare the Molds: For a shiny surface, coat the molds with a mix of 40g melted beeswax and 60g melted butter. Pour the mixture into the molds, then back into the container. Turn them upside down on a cooling rack with a paper towel underneath to catch drips. Chill in the freezer or refrigerator until ready to bake.
6. Preheat the Oven: Preheat your oven to 550°F (290°C).
7. Fill the Molds: Fill the molds with batter, leaving about 1 cm (3/8 inch) from the top. Place them on a foil-lined baking sheet.
8. Bake: Bake at 550°F for 10 minutes. Without opening the oven, lower the temperature to 375°F (190°C) and continue baking for another 45-50 minutes. Baking times may vary depending on your oven.
9. Unmold the Canelés: Remove the canelés from the oven and quickly unmold them onto a cooling rack, upside down. They usually come out easily, but if not, gently tap the mold on a hard surface.
10. Cool and Serve: Let the canelés cool for 2 hours at room temperature. They are best enjoyed on the same day they are baked.
Notes
Note 1: Preparing Copper Molds
- Before using your copper canelé molds for the first time, wash them with warm, soapy water and dry them.
- Season the molds by coating them with butter and placing them in a hot oven (250°C / 500°F) for 20 minutes.
- After removing them, wipe the molds with a paper towel while still hot and let them cool.
- Never wash seasoned molds; just wipe them with a dry cloth or paper towel after each use.
- Always check the manufacturer’s instructions for specific care guidelines, as they may vary.
Note 2: Coating the Molds
- 60g of beeswax and 90g of butter is enough to coat about 20 two-inch canelé molds, with some leftovers.
- You could likely coat 22-24 molds with this amount.
- When melting the wax and butter, heat the molds until they are warm to the touch.
- Microwave the wax and butter together until it starts to boil (about 1 minute and 45 seconds).
- Work quickly to coat all the molds evenly. Pour the mixture into each mold, then turn them over to remove excess wax.
- For efficiency, pour directly into the next mold instead of back into the container.

Lykkers, have you tried this delightful pastry before, or are you inspired to give it a go?
Happy baking, and we can’t wait to see how your canelés turn out!
How To Make The Perfect French Pastry At Home: The Canelè
Video by Joshua Weissman

 · Food Team